Tag: Kitchen Skills

  • How to Cut a Watermelon: The Ultimate Guide to Perfect Slices Every Time

    How to Cut a Watermelon: The Ultimate Guide to Perfect Slices Every Time

    Cutting a Watermelon doesn’t need to be messy or difficult. With the right technique and a sharp knife, you can enjoy perfectly sliced fruit effortlessly for any summer gathering.

    Why Knife Choice Matters

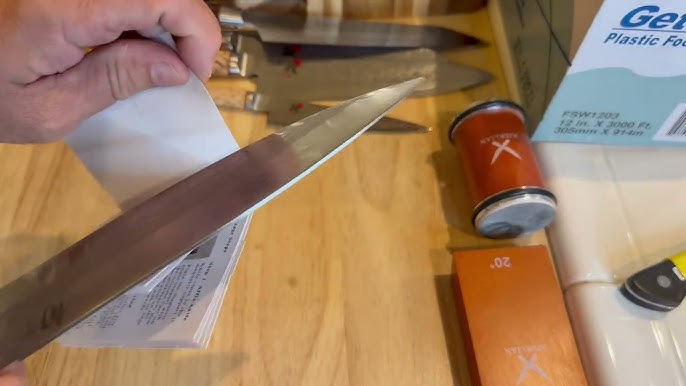
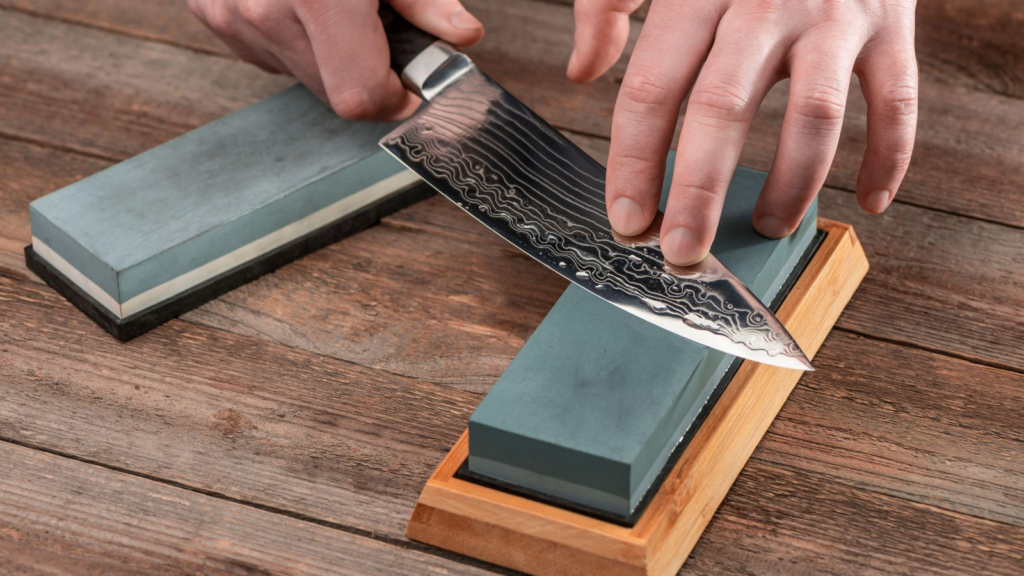
    Your success in cutting a whole watermelon starts with selecting the right blade. A proper knife ensures clean cuts through the tough rind while protecting the delicate flesh inside.

    • Length and Balance: A longer blade lets you slice through the watermelon in one smooth motion, while proper weight distribution ensures control and stability—whether you’re cutting wedges, cubes, or half-moons.
    • Edge Retention: Maintaining sharp cutting power allows you to transform your watermelon into pristine pieces without crushing the fruit or creating jagged edges.

    Best Ways to Cut a Watermelon

    Here is how to transform your watermelon into different serving styles, whether you want to keep the rind or remove it entirely:

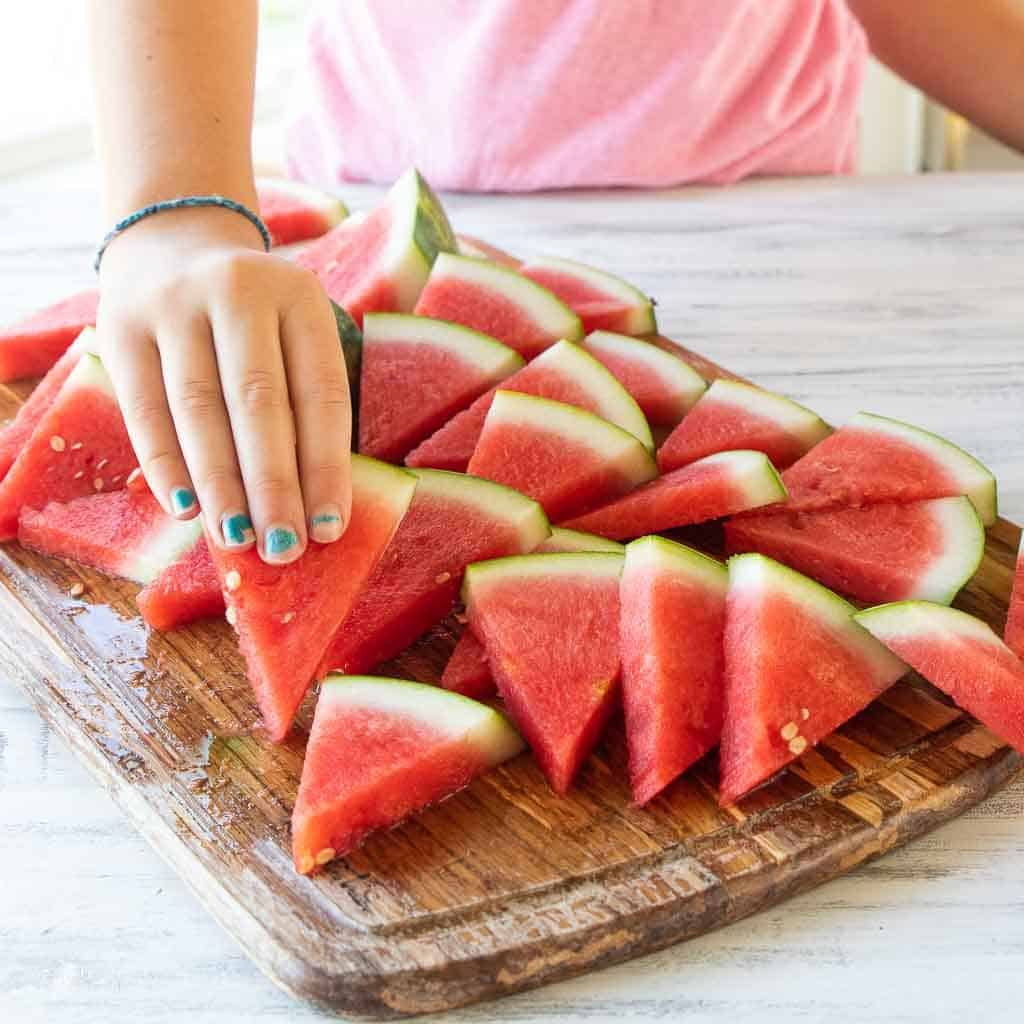
    • Classic Triangles: Place your halved watermelon cut-side down and slice it lengthwise into quarters. Working with one quarter at a time, make clean cuts across the flesh at 1-inch intervals. The rind provides a natural handle for easy snacking.
    • Party-Ready Cubes: After removing the rind, slice your watermelon into 1-inch thick planks. Stack these planks and cut them into 1-inch strips, then rotate 90 degrees to create uniform cubes. These are ideal for fruit salads or elegant appetizers.
    • Refreshing Sticks: Transform your halved melon by cutting it into 1-inch thick slabs, then slicing those slabs lengthwise into perfectly portioned sticks. This shape is perfect for dipping or arranging on platters.
    • Elegant Half-Moons: Create sophisticated half-moon slices by cutting the watermelon crosswise into 1-inch thick rounds, then halving each round.

    Tips for Safe and Efficient Cutting

    Position your watermelon halves with the flat side down on your cutting board to create a highly stable base for precise cuts.

    • Keep your fingers tucked while gripping the handle of your knife, maintaining control through each slice.
    • A damp paper towel placed under your cutting board safely prevents unwanted movement during cutting.
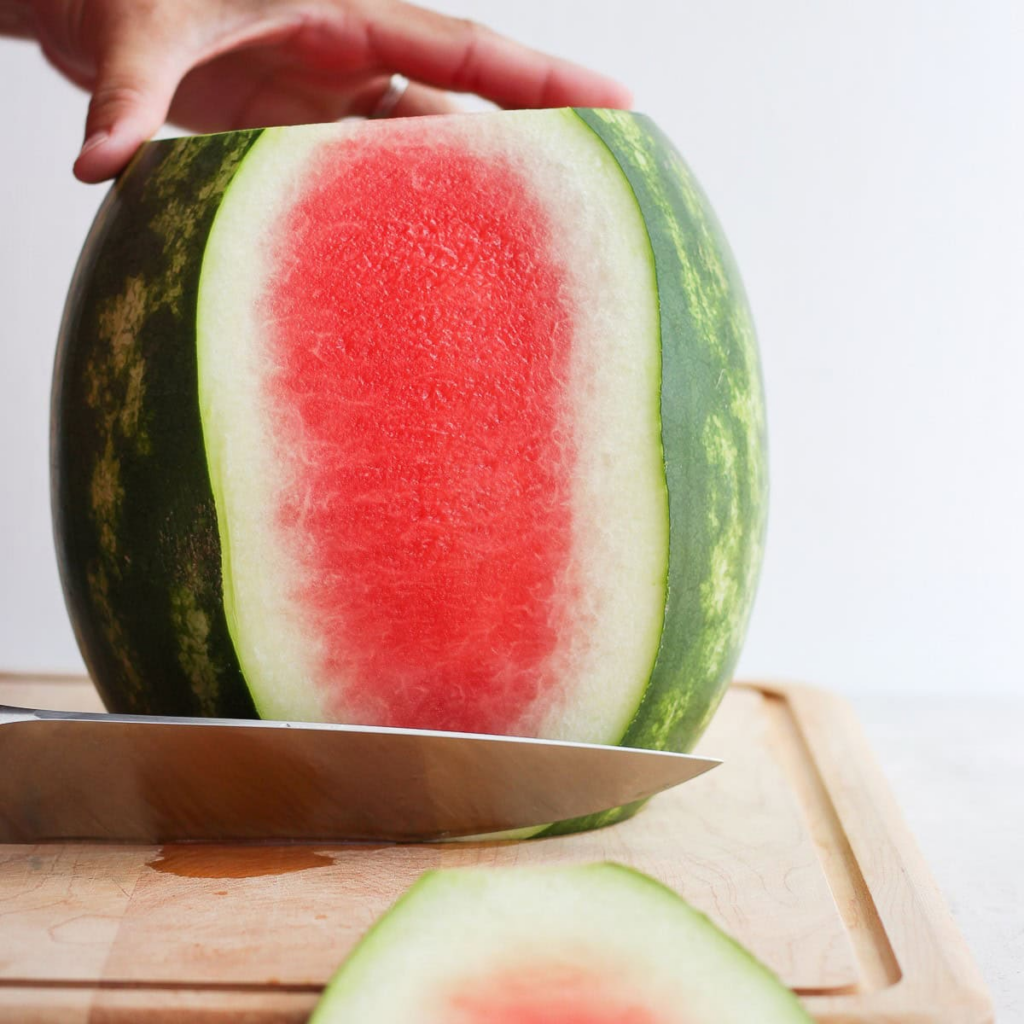
    • Watch the angle of your blade—a 45-degree approach works best for removing the rind cleanly.
    • Keep the knife handle and blade dry by wiping away excess juices as needed to prevent your hand from slipping.

    Best Knives for Cutting Watermelon

    • Chef’s knife: A standard 8-inch chef’s knife excels at watermelon preparation. The cutting edge delivers clean slices through both rind and flesh, while the ergonomic handle provides confident control.
    • Bread Knife: For larger melons, reach for an 8-inch bread knife. Its serrated edge easily grips the tough exterior without crushing the delicate fruit inside.
    • Santoku: A Santoku knife’s unique fluted blade design prevents watermelon pieces from sticking to the metal, making it perfect for creating precise, rapid cubes.

    Serving Your Watermelon: Creative Presentations

    Transform your expertly cut watermelon into stunning presentations that will elevate any summer dining experience.

    Create an eye-catching fruit board by arranging watermelon cubes alongside fresh mint leaves and crumbled Feta cheese. For an elegant twist, stack watermelon wedges in a cascading pattern on a serving platter, garnishing with fresh herbs.

    Turn watermelon into a refreshing summer appetizer by threading cubes onto skewers with fresh mozzarella, or craft a sophisticated watermelon Gazpacho that transforms this sweet fruit into a savory, chilled soup. For children’s parties, you can even use cookie cutters to punch out fun shapes from thin watermelon slices!

  • How to Sharpen Kitchen Knives Like a Pro

    How to Sharpen Kitchen Knives Like a Pro

    No matter what kind of meal you are preparing, chances are it involves using a knife to slice, chop, or dice ingredients. Considering we use them on a daily basis, it is vital to maintain your knives. Keeping them sharp and honed not only allows you to cut cleanly and with precision, but it actually keeps you safer!

    Contrary to popular belief, a sharp knife is much less likely to cause a cutting mishap than a dull blade, which is prone to slipping and juddering.

    Chef Ruth Hansom from Hansom Restaurant offers a great test: “Cutting a tomato is always a good indication. If you’re unable to cut through the skin without squashing the tomato, you have a blunt blade.”

    After you have invested in a quality kitchen knife set, it is time to choose a sharpening tool to keep them in perfect condition. Here is our cutting-edge guide to the best sharpening tools and techniques.

    1. Whetstones (Manual Sharpening)

    Whetstones are the most traditional and precise way to keep blades sharp. These flat, rectangular blocks are used to sharpen a knife by rubbing the blade’s surface against the block to physically grind away microscopic amounts of metal, creating a brand new edge.

    Understanding Grit Size:

    • Coarse (400 grit): For repairing chips and incredibly dull knives.
    • Medium (1000 grit): The standard choice for regular sharpening.
    • Fine (4000–8000 grit): Used solely for polishing the edge to a mirror finish.

    How to Use a Whetstone:

    1. Submerge the stone in water for 10 minutes.
    2. Place it on a slip-resistant surface, coarse side up.
    3. Hold the knife at a 14-degree angle (or the angle recommended by the manufacturer).
    4. Slowly slide the blade across the stone from the tip to the heel.
    5. Repeat on the other side, then flip the stone to the fine side to polish.
    • Pros: Highly precise, cost-effective, space-saving.
    • Cons: Requires practice and patience to master the angle.

    2. Sharpening Rods (Honers)

    Professional chefs swear by using a honing rod daily. A honing rod does not actually sharpen a knife. Instead, it realigns the microscopic edge of the blade, which gets bent out of shape every time it hits your chopping board.

    How to Hone: Hold the rod firmly and place the blade against it at roughly a 20-degree angle. Draw the blade down and towards you smoothly, alternating sides. Doing this before every cooking session will significantly delay your need for an actual whetstone sharpening!

    • Pros: Protects the blade, budget-friendly, highly effective for daily maintenance.
    • Cons: Cannot fix a truly dull or chipped knife.

    3. Electric Knife Sharpeners

    If you are not confident holding an exact 14-degree angle on a whetstone, an electric sharpener is your best friend. These machines feature internal motorized abrasive wheels or belts. You simply pull the blade slowly through the designated slots, and the machine does the precise grinding for you.

    • Pros: Incredibly easy, quick, and provides a highly consistent angle.
    • Cons: Expensive, bulky to store, and can grind away too much metal if overused, which decreases the lifespan of your knife.

    4. Pull-Through Sharpeners

    Pull-through manual sharpeners are the most popular option for casual home cooks. They feature V-shaped ceramic, stone, or diamond wheels set into a plastic handle. You simply pull the blade through the slots a few times to re-establish the edge.

    • Pros: Budget-friendly, easy to use, great for quick fixes.
    • Cons: Not suitable for brittle or thin Japanese blades, as the aggressive grinding can cause chipping.

    Expert Maintenance Tips

    Once you have your knives dangerously sharp, how do you keep them that way?

    • Never Use the Dishwasher: “The single most important thing to remember is never to put a knife in the dishwasher,” warns Laurie Timpson of Savernake Knives. The salty detergents and 80ºC heat will destroy both the steel and the handle. Always wash by hand and dry immediately.
    • Check Your Chopping Board: Never cut on hard surfaces like glass, marble, or granite. Always use a soft end-grain wood or plastic cutting board to protect the blade’s edge.
    • Store Properly: Do not throw your knives into a messy utensil drawer where they will bang against other metal tools. Store them safely in a block, on a magnetic strip, or inside protective sheaths.

    Whether you opt for the meditative precision of a whetstone or the quick convenience of an electric sharpener, regular maintenance is the key to effortless cooking!